The heat transfer vinyl is one of the versatile things to use with the Silhouette Cameo. It is also a favorite material for many users. It is available in various colors and comes in smooth, glittery, and flocked varieties. It can stick to cotton and polyester, and you can decorate any fabric item you want.
Open A HTV Design In Silhouette Studio
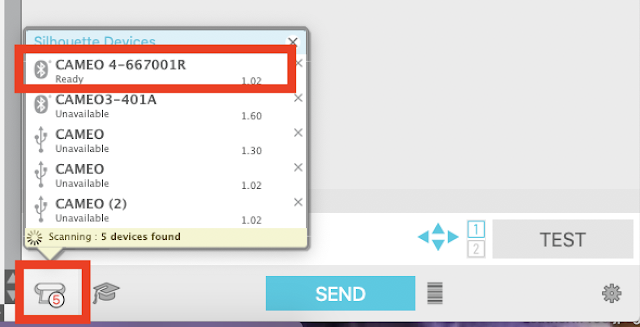
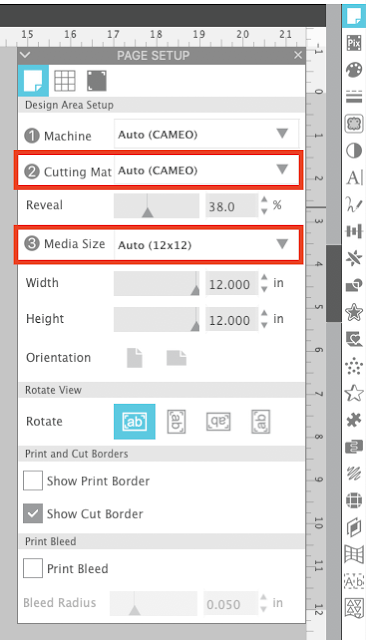
Go to the Start Panel in the Silhouette Studio. Then, move to the machine list at the bottom and select the machine which is available and ready to load. After that, go to the Design space of the software. Now, open the page setup tool from the right toolbar. Also, ensure that the machine is set to auto. The cutting mat also should be set to Cameo, and the page size should be set to 12 X 12 (Auto).
Open An Image In The Silhouette Studio
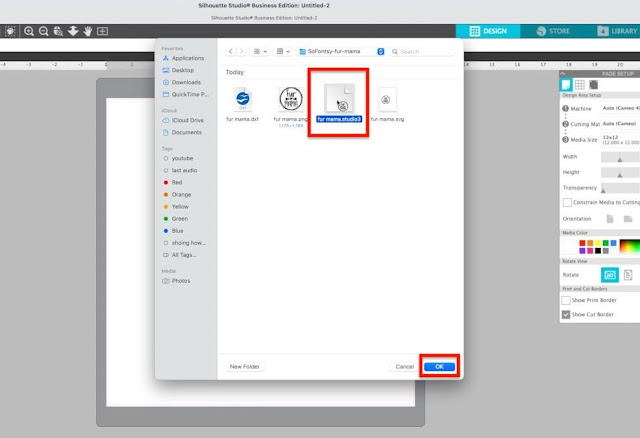
To open an image from the Silhouette Studio library, click Library from the top of Silhouette Studio. Locate the design> right-click> merge. It will open a file in your workspace, whereas to open a file from the computer, move to File> Merge and find the File to open.
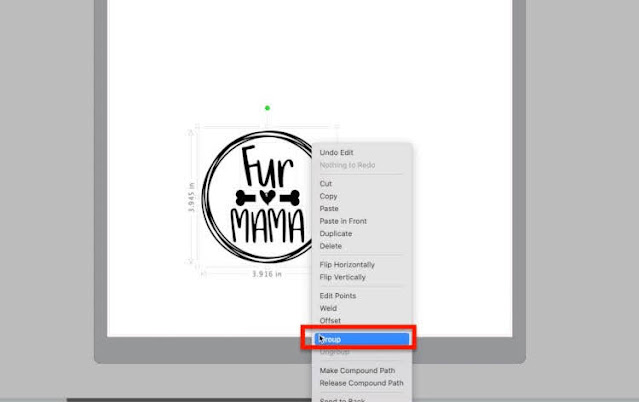
Group A Design In Silhouette Studio
When you click on the design to select and only one part moves, you need to group all the design elements. To do this, click your mouse away from the design and drag it fully across it. Then, all the design elements will be put in a box around them. Then, right-click and select Group.
Resize The Design & Move The Design
First, select the design and move one corner node in or out to resize the design to be at least 4-5 inches.
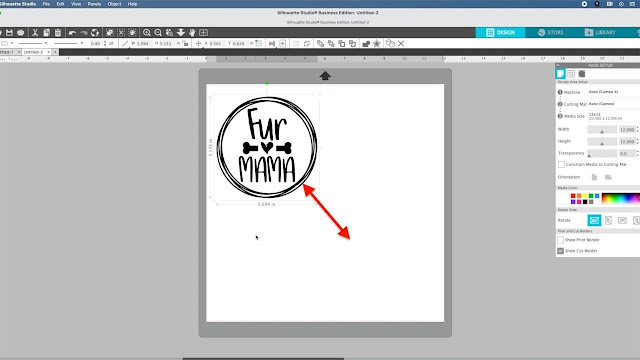
After that, select your design once again and take it toward the top left corner of the work area.
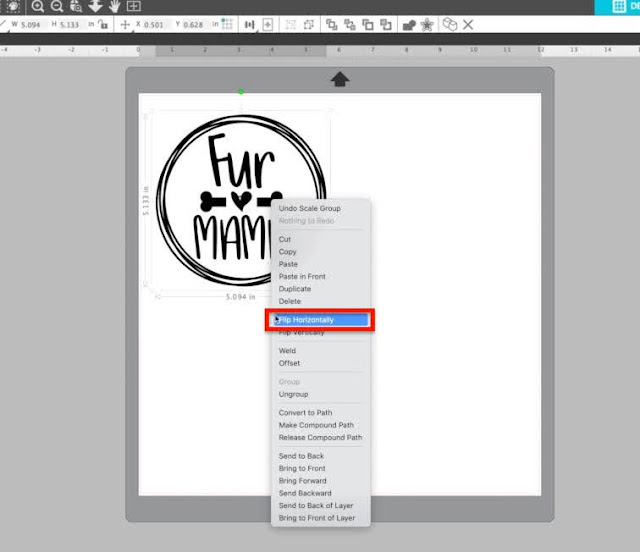
Mirror A HTV design In Silhouette Studio
The heat transfer vinyl should be cut in reverse; hence select the design, then right-click and select Flip horizontally.
Create A Weeding Box For HTV In Silhouette Studio
Go to the “Draw a rectangle tool” from the left sidebar and draw a box around your design. That box should be at least half an inch from the edges of the design. This box you created is known as a weeding box, which will help you later.

Cut Settings For HTV
Go to the send panel and ensure that the rectangle and the design have bold red lines. These red lines are called cut lines. If they are not bold and red, select the design and click the “Cut” option.
Also, change the material type of HTV smooth. Then, the software will reset with the default cut settings for the material. However, the force is set to low; hence, you need to set the force settings to 14 manually.
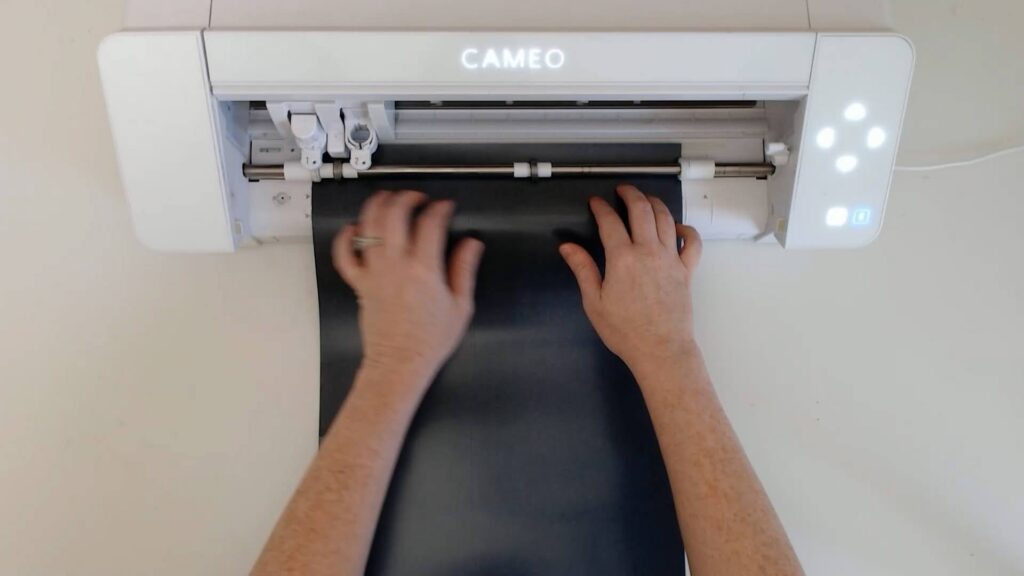
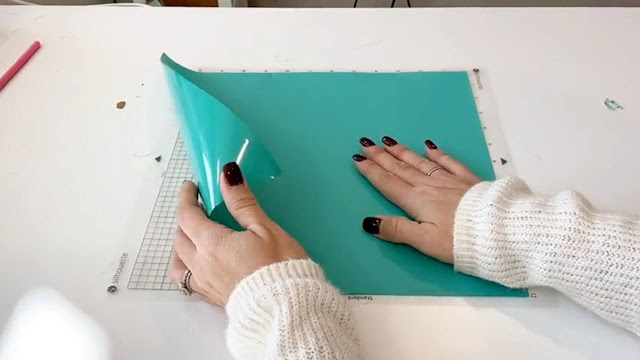
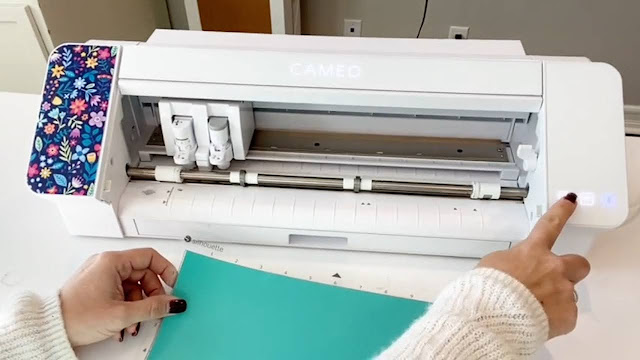
Load HTV In Silhouette Cameo
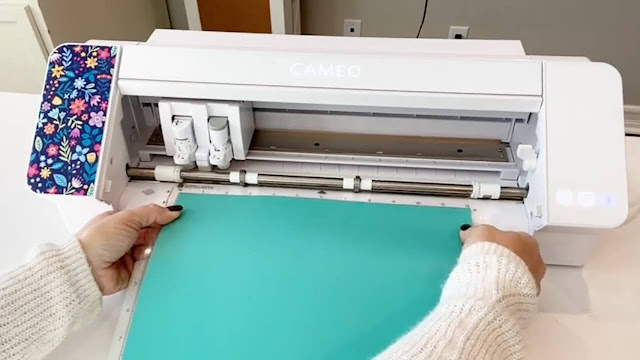
First, put a sheet of HTV on the cutting mat with the shiny part down. Then, press it down to make it stick to the cutting mat. Now, click the up arrow on the Cameo control panel until it flashes. After that, take the cutting mat and hold it gently with two hands up to Cameo’s rollers. Also, make sure that the left edge of the cutting mat is aligned with the gray line.

Then, the machine will pull up the cutting mat within a few seconds. Afterward, go back to the Silhouette Studio panel and click “Send.” Now, select “Send As Is,” as you already mirrored the design. Then, the HTV cutting will start.
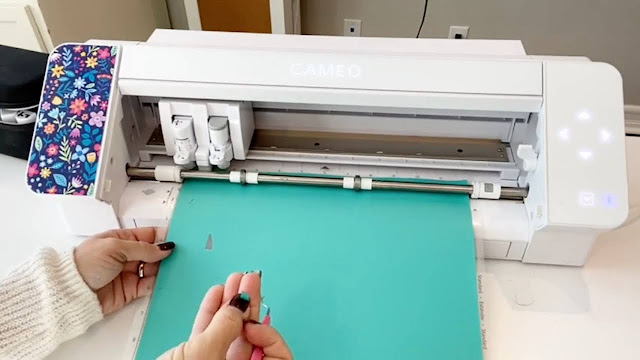
Once the cut is complete, don’t unload the mat immediately. Keep the mat still loaded in the machine, and use a weeding tool to lift one corner of the box or remove the middle of the letters like A, O, and D. If they lift easily, you will feel a little confident that your design has cut properly.
But if it’s not up to the mark, go back to the Send Panel and click “Send” again to cut the design again.
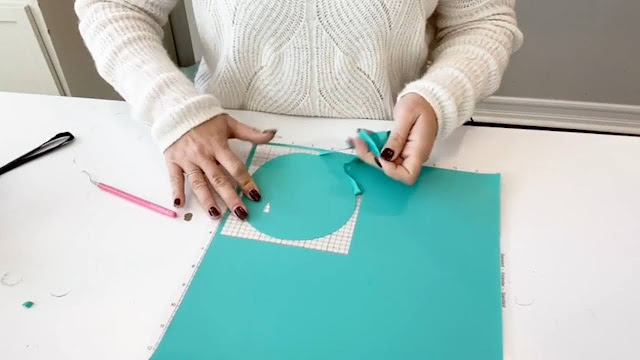
Once you are satisfied with the vinyl cut, press down to unload the cutting mat on Cameo’s control panel, then use the weeding tool or hook to remove the weeding box completely. Plus, remove the excess area in or around the heat transfer.
Put HTV On A Shirt
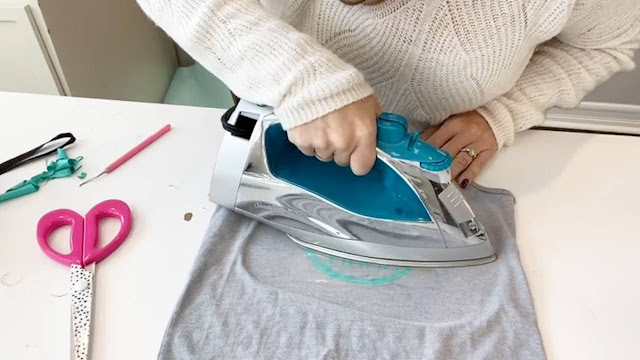
Cut down the design area with the scissors from the large sheet of HTV. Then, flip the HTV on the shirt. Now, use an iron or heat press to transfer HTV on the shirt. You can apply the heat transfer vinyl with an iron or a heat press.
Most beginners use iron. Your iron should be set to the cotton setting. Now, move the iron over the carrier sheet and apply firm pressure for about 20 seconds in each iron size area. Keep your iron still, and don’t move it around.
Now peel off a small area of the carrier sheet. The HTV should stick to the shirt when the carrier sheet is removed. But if it doesn’t stick, apply heat and pressure for a few more seconds.
Hurray! You have completed your first Heat transfer vinyl project with your Silhouette Cameo 4.