We know that screen printing is a unique technique where a mesh is commonly used to transfer ink or colorful dye onto a material or substrate. In this printing technique, a stencil is used to block the areas where the ink is not required. Generally, the ink is filled in the open mesh apertures across the screen with the help of a blade.
In this blog, we are going to look into how to do screen printing with Silhouette Cameo. Traditionally screen printing was done using an emulsion process. The older practices were time-consuming and required access to various technologies and tools that most of the earlier libraries in the application did not have. With the help of Silhouette Cameo, we can print and produce screens without the traditional emulsion process. So, keep reading to find the easiest tutorial on screen printing with Silhouette Cameo.
How To Do Screen Printing With Your Silhouette Cameo Machine
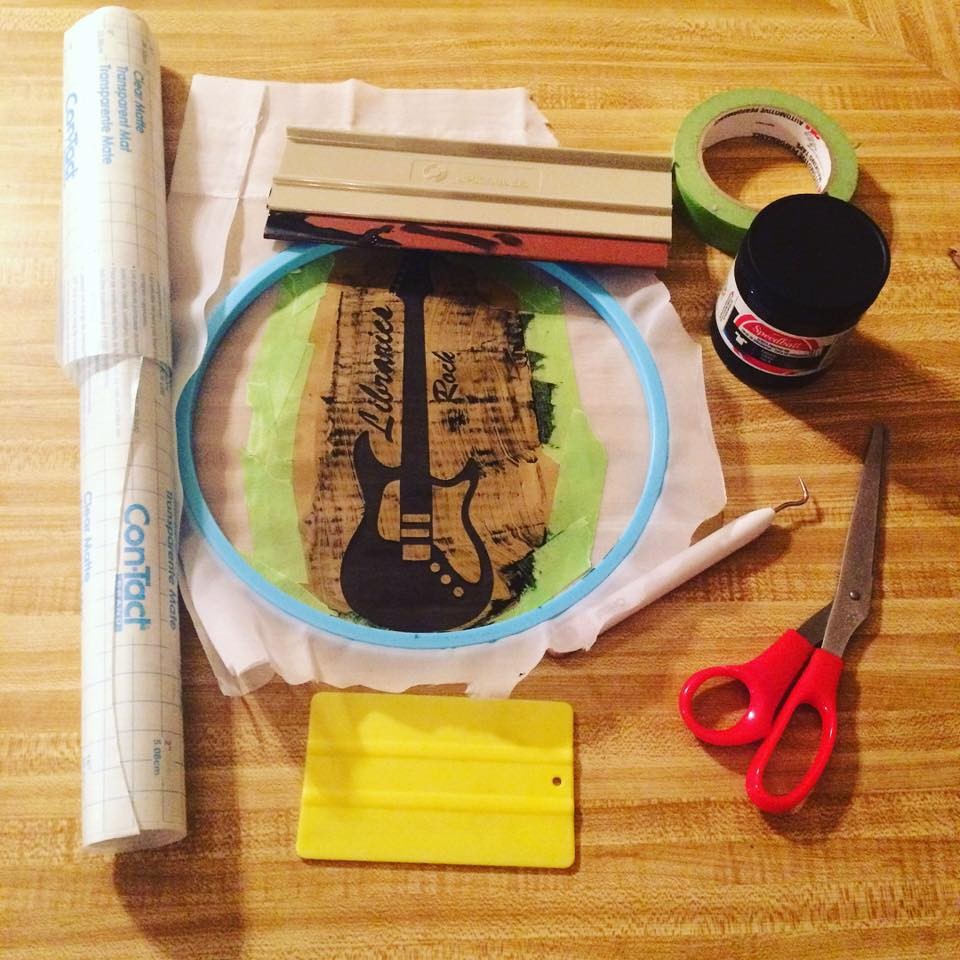
Before we find out the easiest way to screen printing with Silhouette Cameo, there are a few items that you need to keep by your side to get started:
- Screen printing frame/screen (it can pre-made store-bought screen or a homemade one as well that has a mesh curtain or embroidery hoop)
- Screen printing ink
- Painter’s Tape
- Fabric, substrate, or t-shirt on which you want to print
- Wedge, Blade, or a squeegee
- Silhouette Cameo machine
- Laptop or Computer
- Vinyl
- A piece of cardboard
- Clear contact paper
- Scissors
- A vinyl tool like a weeding tool (or any other that you want to use)
- Table covering

The screen printing with Silhouette Cameo is divided into three main activities, which are mentioned below:
- First, you have to design your screen
- Secondly, cut and make your screen
- Lastly, use the prepared screen to print onto your substrate. Here we are screen printing with Silhouette Cameo on a t-shirt. The last step is the actual process that will make you a pro at using your Cameo machine for screen printing.
First-Step To Screen Printing With Silhouette Cameo
Before we begin the actual screen printing with Silhouette Cameo we must know how to design our screen. The Silhouette Cameo comes with its own design software which will make screen printing for you very convenient. There are a few rules that you must follow for successfully designing:
- Text porting is using a bit difficult but if you anyways use it then go for texts that are much bigger.
- If it is first-time screen printing with Silhouette Cameo then try to choose a less complicated design for better learning.
- Choose the workspace that is open and big so that you can weed, transfer and use ink on your t-shirt or substrate easily.
You will have to cut your vinyl after you have made the design according to your preference. The Silhouette Cameo screen has a superior quality if you compare it with other types of stencils. A store-bought or handmade stencil, both would work when you are screen printing with Silhouette Cameo. The precision that you would get with your Cameo cutting machine is more elaborate. That is why cutting your stencil with the Silhouette Cameo is a much better choice as it elevates the final look of the design. However, if you use a stencil to paint designs on at-shirt without the screen is technically not screen printing.

Second-Step For Screen Printing With Silhouette Cameo
The next step that you have to follow is to send the design to cut on your Silhouette Cameo machine. Once the design is cut properly, don’t immediately remove all the vinyl. First, take a look at your design and take into consideration all parts of the design you want to be printed on the shirt or substrate. As this is the same part of the vinyl that you will weed. So, leave the big piece of vinyl along with the backing in its place and only weed out the designs or letters that you want to fill in with the ink.
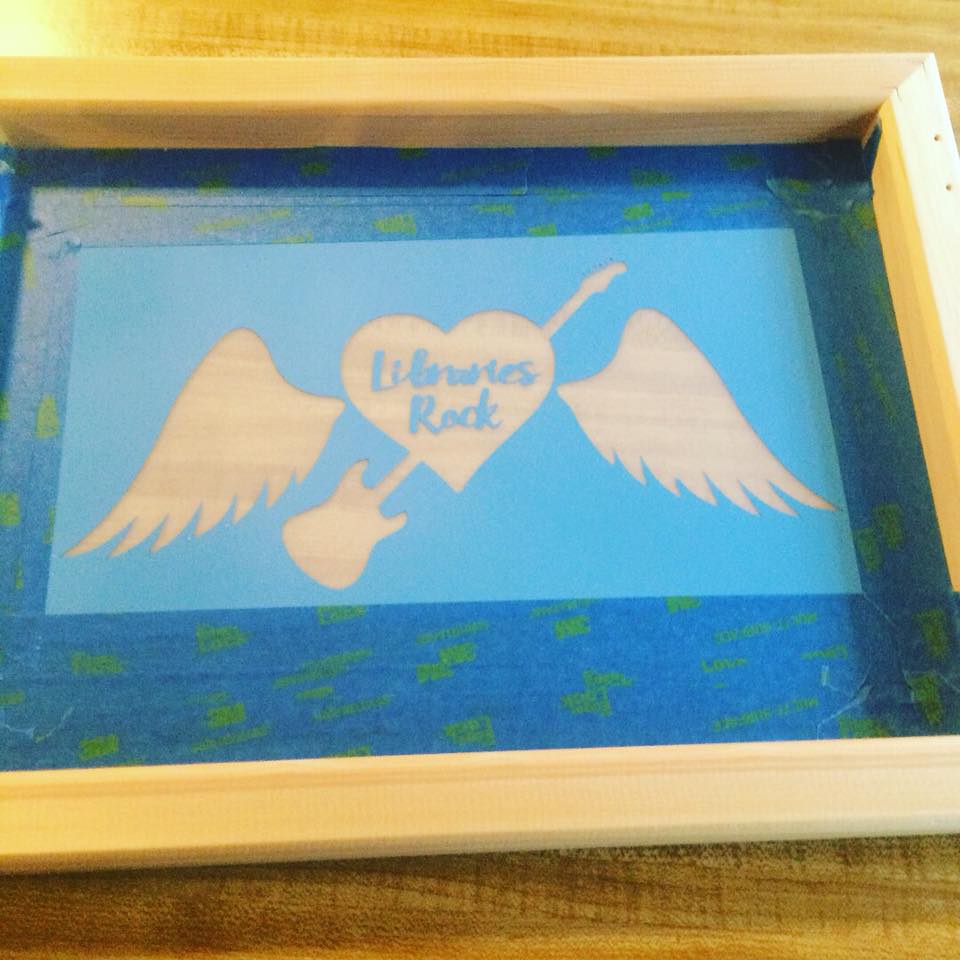
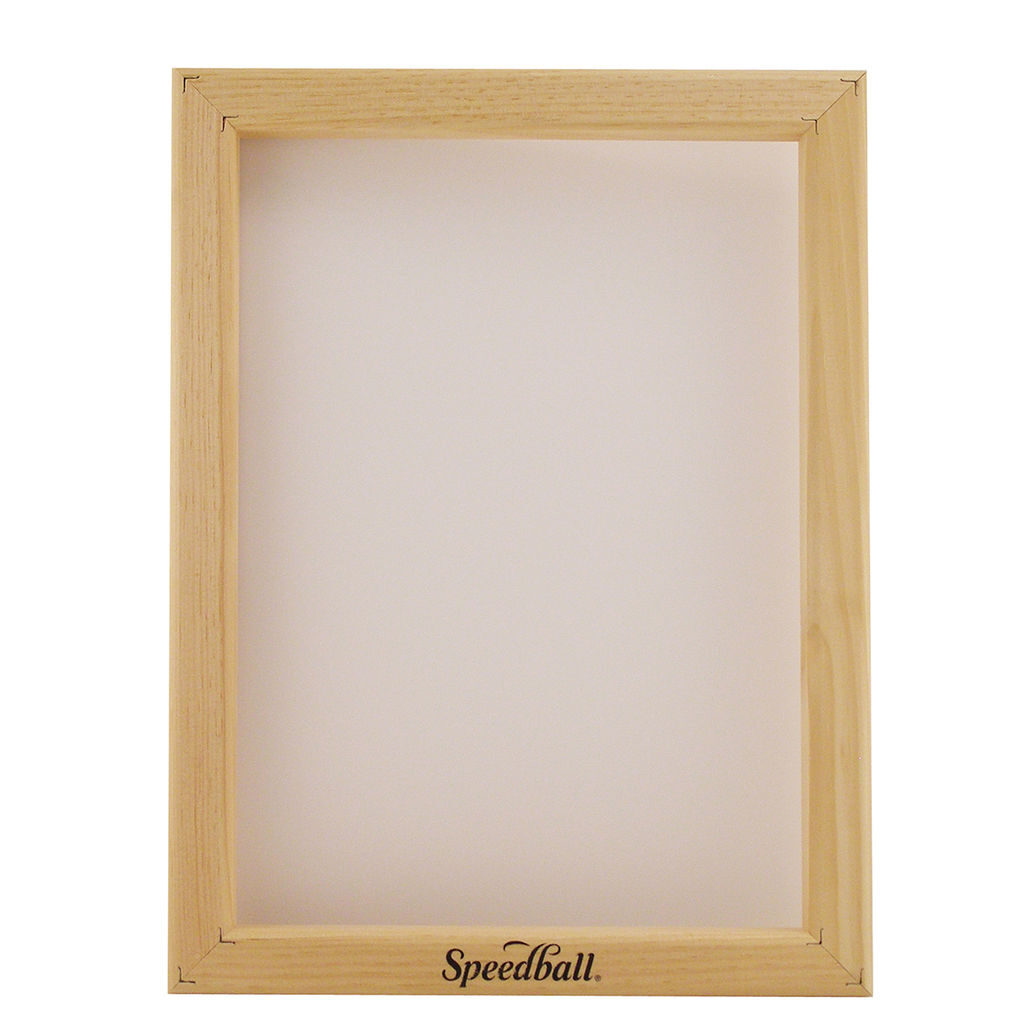
After that, you will have to transfer your sheet of vinyl to the screen. The screen that you will be using can be a traditional pre-made screen that you can buy from craft stores or online. One of the most common screens is made by Speedball which are wooden frames with a screen made up of mesh material. They come in a rectangle shape and since it is pre-made, it is very firm and holds their position on the material to prevent ink from bleeding. If you want to save some bucks, you can make your own screen. All you will need is a wooden ring or frame which is used as an embroidery hoop and a mesh curtain.

Once you have selected the screen that you want to use, next up you have to transfer the vinyl stencil that you have just cut using the Silhouette Cameo onto your screen. Now with the help of a transfer tape and a wedge tool remove the backing off from your stencil and your vinyl and place them both onto the screen. Firmly apply the stencil making sure there are no bubbles or wrinkles. After that cover the exposed areas of your screen using painter’s tape.
Final Step To Complete Screen Printing With Silhouette Cameo
The final step is where you will perform the actual screen printing with Silhouette Cameo. You will be needing your paint, ink, screen, a wedge or squeegee, and a place of cardboard to place inside your shirt. You can use fabric paints instead of screen-printing ink as the latter is more expensive.
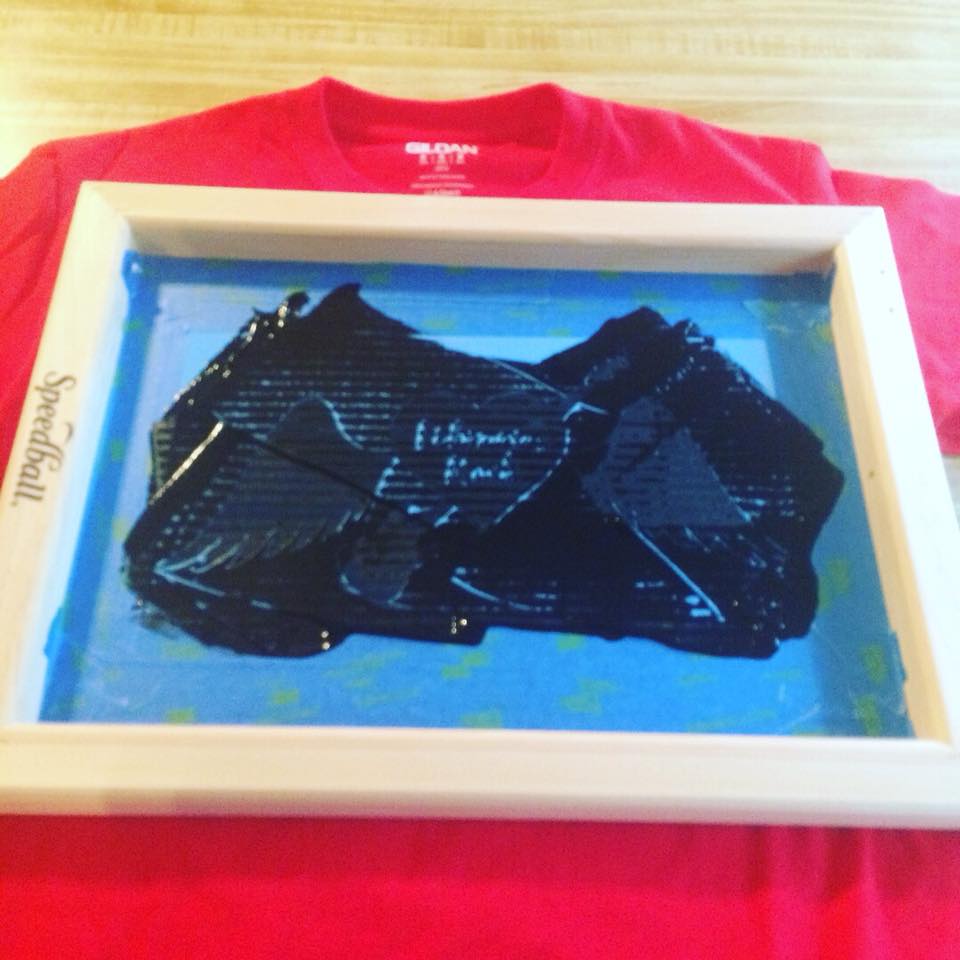
Now, start by placing the cardboard inside the two layers of your t-shirt (if you are using any other substrate, you can skip it). The cardboard will act as a film between the two layers of the t-shirts to prevent your ink from bleeding to the back layer. Then place the screen in the exact place where you want your design on your t-shirt. Scoop out some ink and with a wedge or squeegee smooth it into the empty spaces on your stencil. And use the same wedge to scrape off the excess ink. Carefully fill in all the nooks and crannies of the stencil so that you get a good print.
Then remove the screen, you can use a blow dryer before touching or moving your shirt and let it dry completely.
